Admin Guide
This guide covers server administration tasks: managing users, groups, map configuration, security policies, and audit logs.
Accessing Server Settings
Server Settings are only visible to users with the Admin role.
- Click your avatar in the top-right corner of the navigation bar.
- Select Server Settings.
The settings are organized into sections in the left sidebar: Map, Users, Groups, Security, and Audit Logs.
User Management
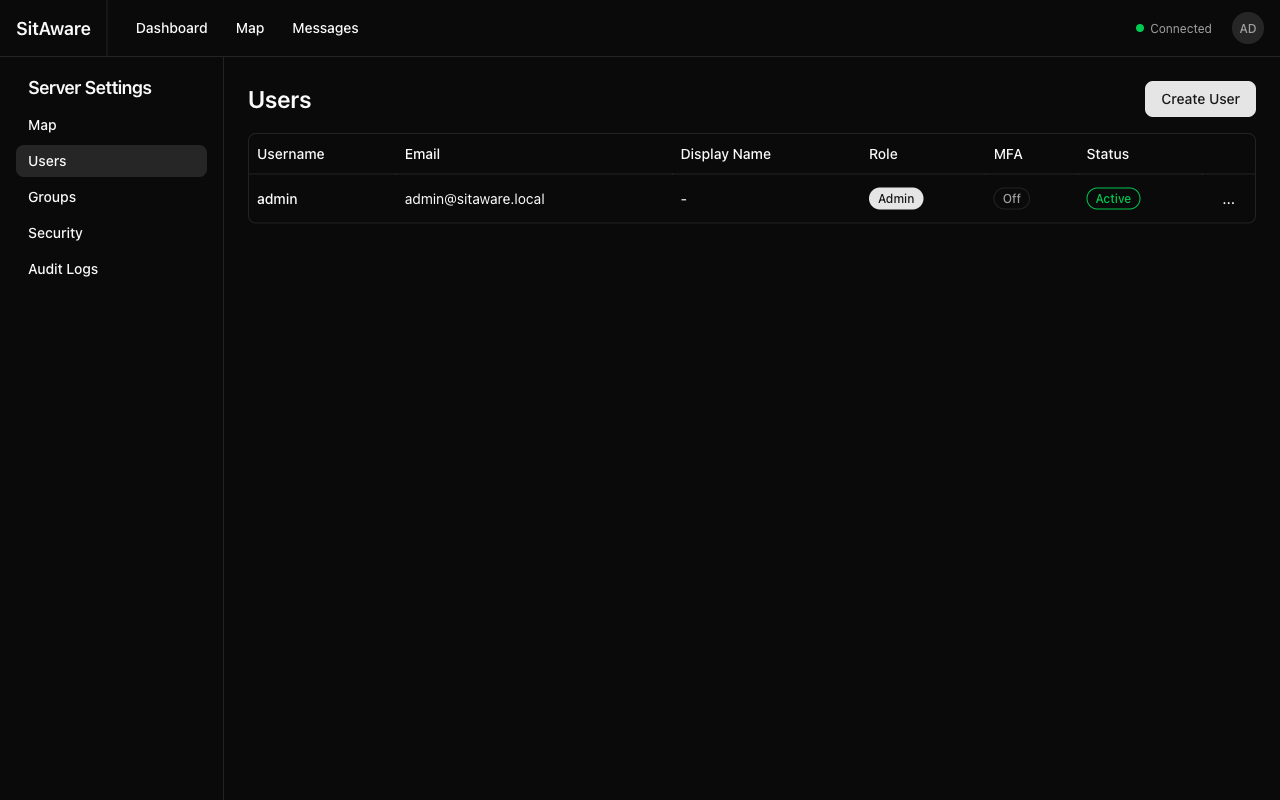
Viewing Users
The Users page shows all accounts on the server with: - Username and Email - Display Name - Role -- Admin or User - MFA -- whether MFA is enabled (On/Off) - Status -- Active or Inactive
Creating a User
- Click Create User in the top-right corner.
- Fill in the required fields:
- Username -- unique, cannot be changed after creation
- Email -- unique email address
- Password -- minimum 8 characters
- Role -- Admin or User
- Click Create.
The new user can log in immediately with the provided credentials.
Editing a User
- Click the action menu (...) on the user's row.
- Select Edit.
- Update the desired fields (email, display name, role, active status).
- Click Save.
Note: You cannot demote or delete the last remaining admin account.
Deactivating a User
Deactivating a user prevents them from logging in without deleting their data:
- Edit the user.
- Set Status to Inactive.
- Save.
Deleting a User
- Click the action menu (...) on the user's row.
- Select Delete.
- Confirm the deletion.
Warning: Deleting a user removes their account and cascades to their devices, group memberships, and other associated data. Messages sent by the user are retained.
Resetting a User's MFA
If a user is locked out of their account due to lost MFA devices:
- Click the action menu (...) on the user's row.
- Select Reset MFA.
- All of the user's TOTP methods, WebAuthn credentials, and recovery codes are removed.
- The user can log in with just their password and reconfigure MFA.
Group Management
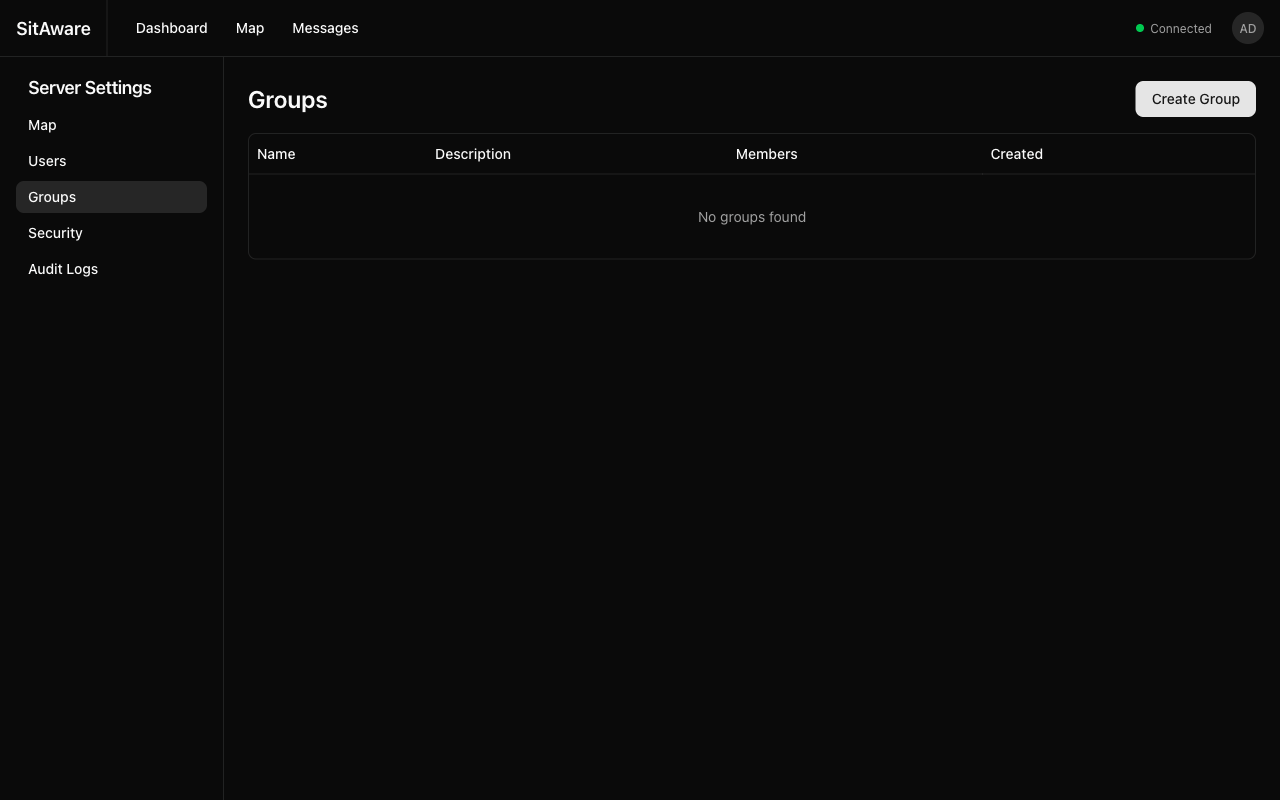
Creating a Group
- Click Create Group.
- Enter a Name and optional Description.
- Click Create.
The group is created empty. Add members in the next step.
Adding Members to a Group
- Click on a group name to open the group detail page.
- Click Add Member.
- Select a user from the list.
- Set their permissions:
- Can Read -- see group locations and messages
- Can Write -- send messages and share location
- Group Admin -- manage members within this group
- Click Add.
Updating Member Permissions
- Open the group detail page.
- Find the member in the list.
- Toggle their Can Read, Can Write, or Group Admin permissions.
- Changes are saved automatically.
Removing a Member
- Open the group detail page.
- Click Remove next to the member.
- Confirm the removal.
Group Marker Customization
Groups have a default marker icon and color that appear on the map for all members:
- Edit the group.
- Select a Marker Icon (circle, square, triangle, etc.) and Marker Color.
- Save.
Individual users can override this with their own marker style in Account Settings.
Deleting a Group
- Click the action menu on the group's row.
- Select Delete.
- Confirm. All memberships are removed. Messages in the group are retained.
Map Configuration
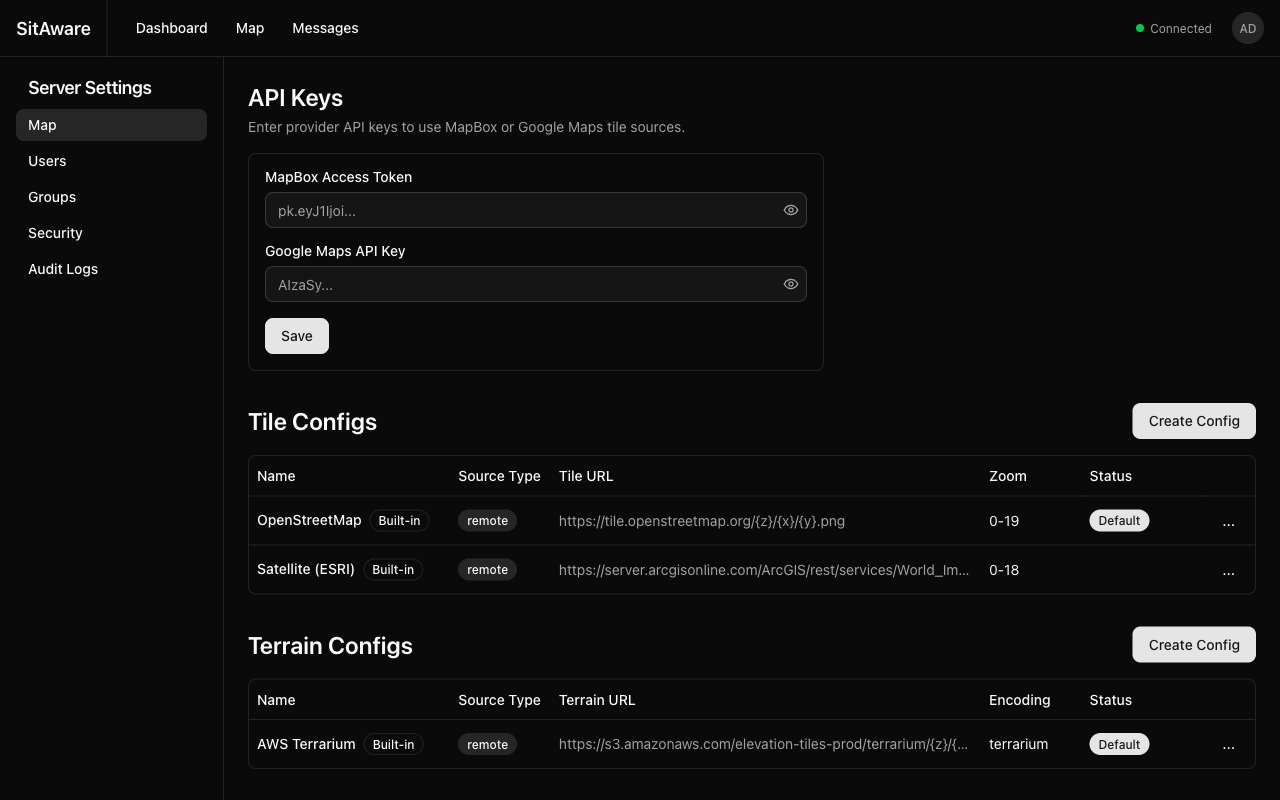
The Map settings page has three sections: API Keys, Tile Configs, and Terrain Configs.
API Keys
Enter provider API keys to unlock additional tile sources:
- MapBox Access Token -- enables MapBox Streets, Satellite, and other MapBox styles
- Google Maps API Key -- enables Google Maps tile layers
Enter the key and click Save. Keys are stored server-side and are never exposed to end users.
Tile Configs
Tile configurations define the map background layers available to users.
Built-in sources (cannot be deleted): - OpenStreetMap -- free, community-maintained map tiles - Satellite (ESRI) -- aerial/satellite imagery
Creating a custom tile config:
- Click Create Config.
- Fill in:
- Name -- descriptive name for the source
- Source Type --
remote(URL) orlocal(served from S3/Minio) - Tile URL -- URL template with
{z}/{x}/{y}placeholders (e.g.,https://tiles.example.com/{z}/{x}/{y}.png) - Min/Max Zoom -- zoom level range
- Click Create.
Setting the default source:
Click the action menu (...) on a tile config and select Set as Default. This source will be used when users first load the map.
Enabling/Disabling sources:
Toggle sources on/off without deleting them via the action menu.
Terrain Configs
Terrain sources provide elevation data for 3D terrain rendering on the map.
Built-in source: - AWS Terrarium -- free elevation tiles from AWS
Creating a custom terrain config:
- Click Create Config.
- Fill in:
- Name -- descriptive name
- Source Type --
remoteorlocal - Terrain URL -- URL template with
{z}/{x}/{y}placeholders - Encoding --
terrariumormapbox(depends on the DEM format) - Click Create.
Air-Gapped Map Setup
For deployments without internet access:
- Pre-generate or download map tiles (e.g., using tools like
tilemakeror downloading from OpenMapTiles). - Upload the tiles to the S3-compatible object store (Minio in Docker Compose, or your S3 endpoint).
- Create a tile config with Source Type set to
localand the Tile URL pointing to the S3 bucket path. - Set it as the default.
- Repeat for terrain tiles if 3D terrain is needed.
Server Security
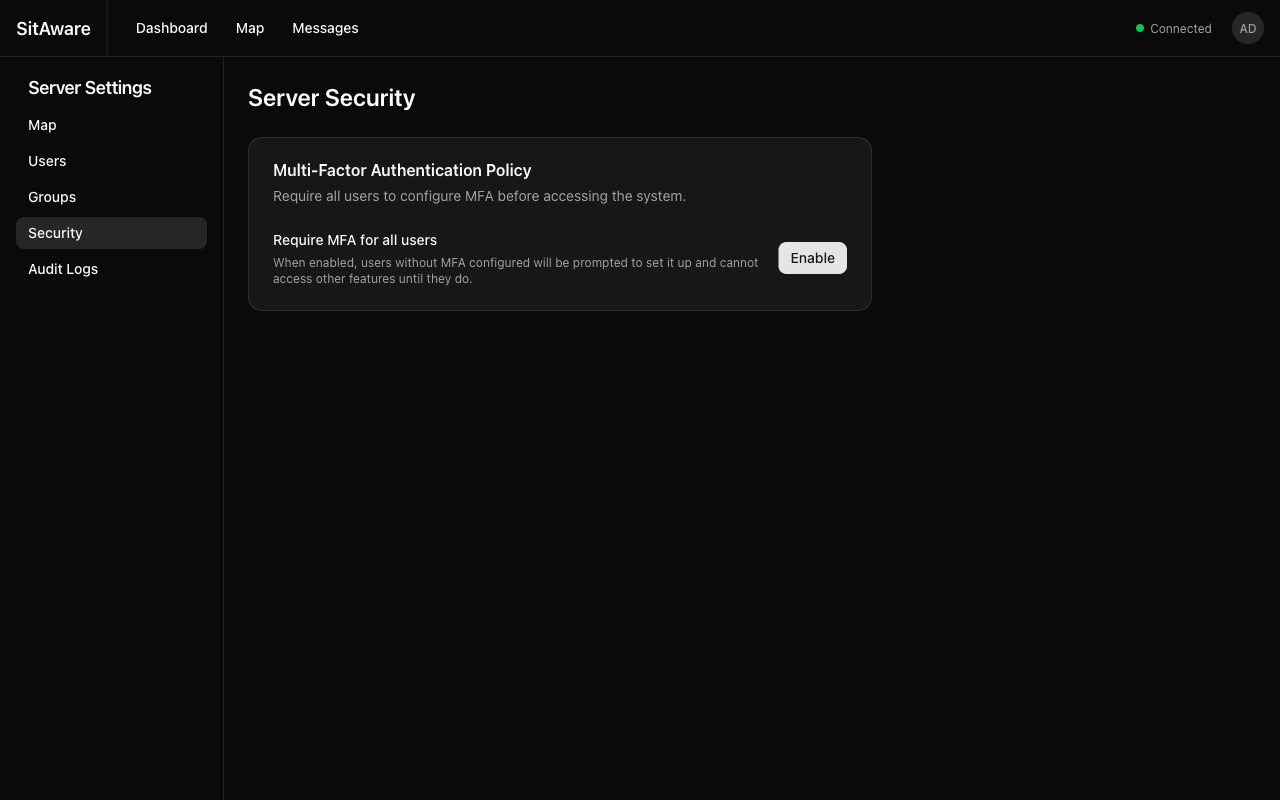
MFA Enforcement
The Require MFA for all users policy forces every user to set up multi-factor authentication before they can access any feature.
Enabling MFA enforcement:
- Go to Server Settings > Security.
- Click Enable next to "Require MFA for all users".
- All users without MFA configured will be redirected to the MFA setup flow on their next login.
What happens when enabled: - Users without MFA see only the MFA setup page -- all other routes are blocked - Users must configure at least one MFA method (TOTP or WebAuthn) to proceed - Once MFA is set up, normal access resumes - Admin users are also subject to this requirement
Disabling MFA enforcement:
Click Disable to remove the requirement. Users who already have MFA set up keep it active. Users without MFA can now access the system freely.
Audit Logs
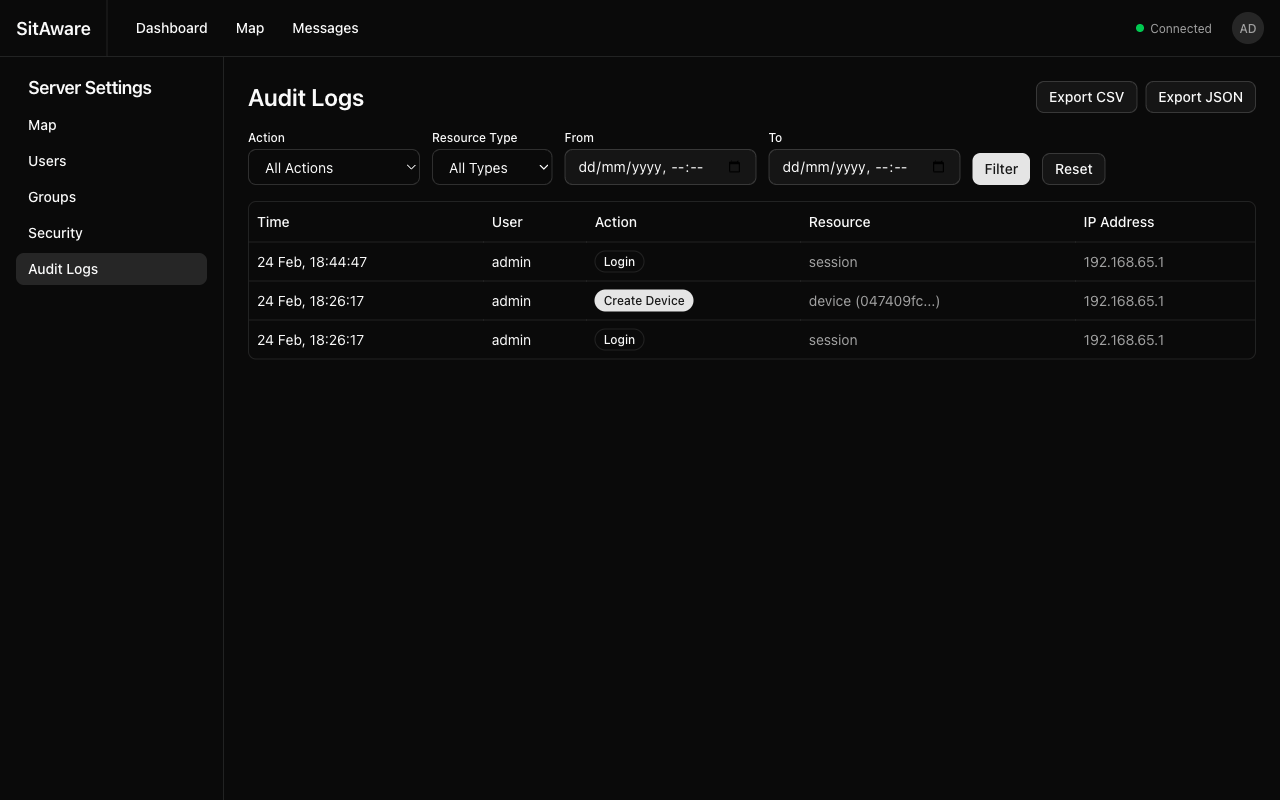
The audit log records every API action performed on the server.
Viewing Logs
The audit log table shows: - Time -- when the action occurred - User -- who performed the action - Action -- what was done (Login, Create User, Send Message, etc.) - Resource -- what was affected (session, user, device, group, message, map config) - IP Address -- the source IP
Filtering
Use the filter bar to narrow results: - Action -- filter by specific action type (Login, Create User, Delete Group, etc.) - Resource Type -- filter by resource category (Session, User, Device, Group, Message, Map Config) - From / To -- date/time range
Click Filter to apply, or Reset to clear all filters.
Exporting
Click Export CSV or Export JSON to download the audit logs for the currently filtered view. This is useful for compliance reporting or incident investigation.
Audit Log Scope
| Role | Can View |
|---|---|
| User | Only their own actions (Account Settings > Activity) |
| Group Admin | Actions by members within their groups |
| Admin | All actions by all users (Server Settings > Audit Logs) |